


I'm not going to bore you with pictures of all the components and my own feelings on it all. Like any good game, the point is to play and we've played quite a bit. So I'm going to do a 'battle report' that also serves to show off the game itself. Be warned:
THERE WILL BE TONS OF PICS!
With that warning in place, let's get to the setup and game!
Setup
There is a neat Mission Book that has a lot of missions to play. This game, in its core state, is a scenario-based game and so these missions are very important. The first thing players do is open the book to one of the missions, which are not related in any way so no order to have to follow, and start reviewing all the information.

For this mission, "Major Gas Madness", the heroes must stop Scarecrow's plan to gas the city and create mass havoc by finding the information about the antidote and getting away. The game only goes for seven turns, so there is definitely a sense of urgency for the heroes. Here's the information that this page spread contains"
Required Elements- this includes the Villain token, miniatures, tokens to represent game effects, and equipment:


Villains and characters- this area shows how many and which characters are used, the order that they are placed, as well as the stats that show the starting energy cubes and recovery rate to be used on the Villain's "Control Panel":


The possible Heroes- the Hero player chooses a band from a limited number of options. This mission is odd because it only gives options for a first and second hero, meaning there is no third hero in the band. Typically, this game gives the Hero player a band of three heroes, but there's even a mission with only one hero and no options at all! 

Board Setup- where everything is placed, including the heroes' deployment zones:


The final piece of information is which player has 'the initiative'. This means the player that will take their turn first in every round. When the icon is blue, the heroes get the first turn. When the icon is grey, the villains get the first turn. In this mission, the icon is blue.

Game Round 1


Batman was the first to act and used his two free movement points (and his Parkour ability) to descend to the main floor. This did not cost him any movement cubes.


Batman continued to act and spent an energy cube to do a ranged attack. One cube equals one orange die, plus his Explosive Batarangs give two bonus black dice. With the roll, he scored two successes, which probably wouldn't be enough. So Batman spent another cube to reroll, converting the blank die to four more successes.


Azrael wanted to get into the action and spent an energy cube for en extra point of movement. Only have the Parkour ability of '1' meant that he would need three points to descend and get to the territory he wanted.


Azrael spent an energy cube to make a melee attack, getting the hero one red die and a bonus red die for the Flaming Sword.


Not one to be easily defeated, Azrael took another action and spent a cube to perform that same melee attack. With two red dice rolled, the result was comical and the hero thought better of spending more cubes for now.


That was all the heroes were going to do for now. Batman had successfully cleared out his area while Azrael was a little out-of-shape.

The heroes moved their spent energy cubes to their 'Fatigue Zone' and ended their turn. The victory conditions were obviously not met, so the game continues!


The first activation is the Brutes with Firearms, costing two energy cubes as the tile was in the '2' slot. The tile is replaced to the end of the 'river', pushing the other tiles to the left, and the cubes were paid. This now means that the villain player can activate each of the three Brute with Firearm models on the board, acting as described above.


The second Brute with Firearm was hanging out with Scarecrow and wanted to see what his friend was up to. With his movement points of 3, he moved down to stairs to join his friend, saw no opportunities to take shot, and used his second move to pile into Batman's zone.


The third and final Brute with Firearm was already occupied with Azrael and decided to forego his first movement. Turning to face the hero, he let loose with a ranged attack at point blank range...


The Brute with Firearm tile shows these models get one black die when shooting, plus the Point Blank special rule with allows a reroll if the target is in the same territory. All of that resulted in a roll of four successes as the shotgun blasted the do-gooder.


Azrael rolled two successes, cancelling out two of the villain's, which left only two wounds for Azrael to worry about. Trying to conserve his energy, the hero chose to take the damage. He transferred two cubes from the Fatigue Zone to the Wounded Zone.
Feeling satisfied with himself, the Brute used his second move to dash over and join his friend against Batman.


Only to fail again... The character appreciated his position and skipped his second move step as well.


A third Hazmat Thug moved from the room with the safe into the adjacent room with the Ventilation token. His plan was to slow down the heroes (and most of the villain characters) with the poisonous fumes in the factory...


Game Round 2
The Hero player and his heroes have the first turn. It's very important to understand that the heroes may activate anyone, anywhere, at any time. There is no turn order, no order of activations, and a fantastic illustration of how heroes work together with this game mechanic. During the heroes' turn, it is totally open-ended to how they can work throughout the turn.


Batman was the first to act and used his two free movement points (and his Parkour ability) to descend to the main floor. This did not cost him any movement cubes.


Batman continued to act and spent an energy cube to do a ranged attack. One cube equals one orange die, plus his Explosive Batarangs give two bonus black dice. With the roll, he scored two successes, which probably wouldn't be enough. So Batman spent another cube to reroll, converting the blank die to four more successes.

Comparing this to the target's armor value, 2, we see that the Brute still has four wounds to account for. With few options, the Brute was 'neutralized' and removed from the board. [At this point, we still haven't taken 'Hindrance' into account, which would actually cancel out two of the successes and leave only two wounds for the villain to worry about. Hindrance is a very important part of the game and we played it incorrectly the entire time just for consistency.]
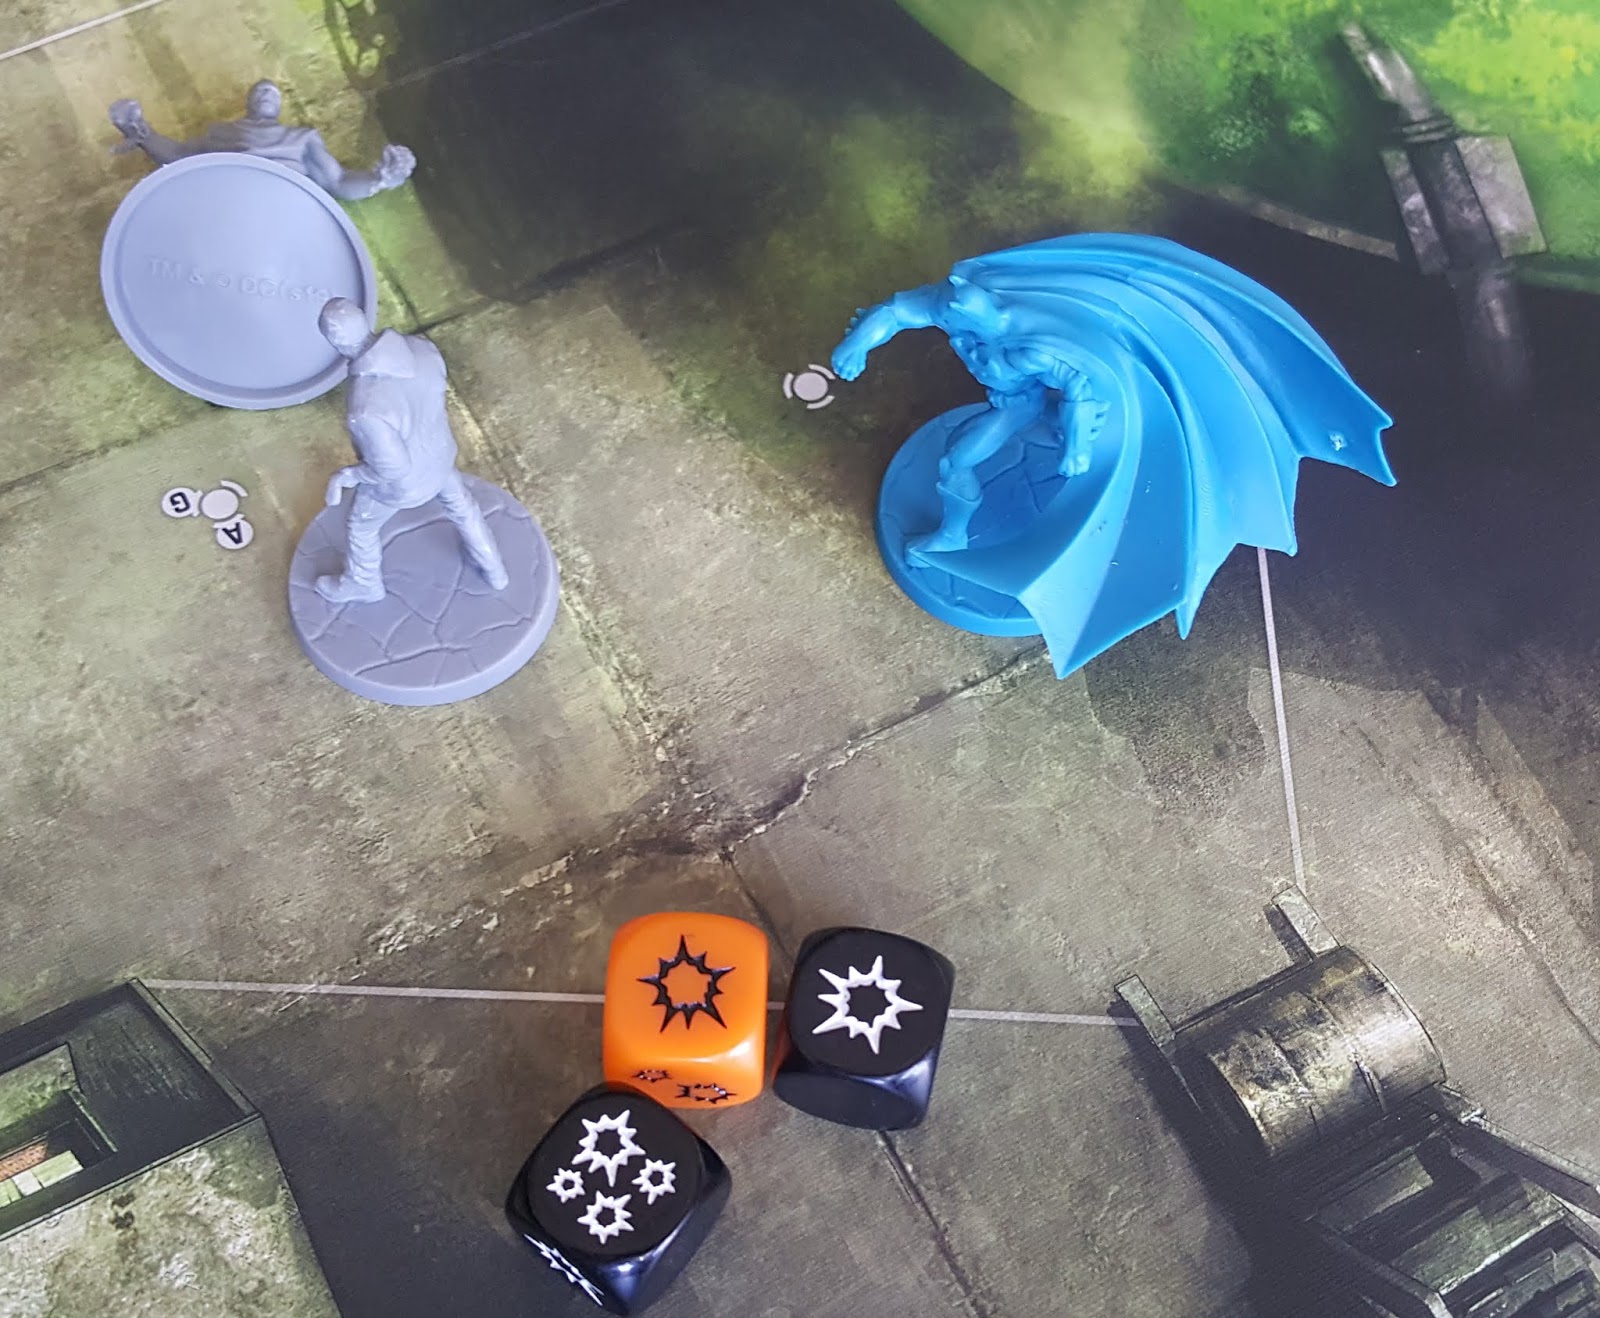
Batman chose to take the next action, doing another ranged attack the remaining villain in his territory, rolled well above the armor value, and neutralized another bad guy.


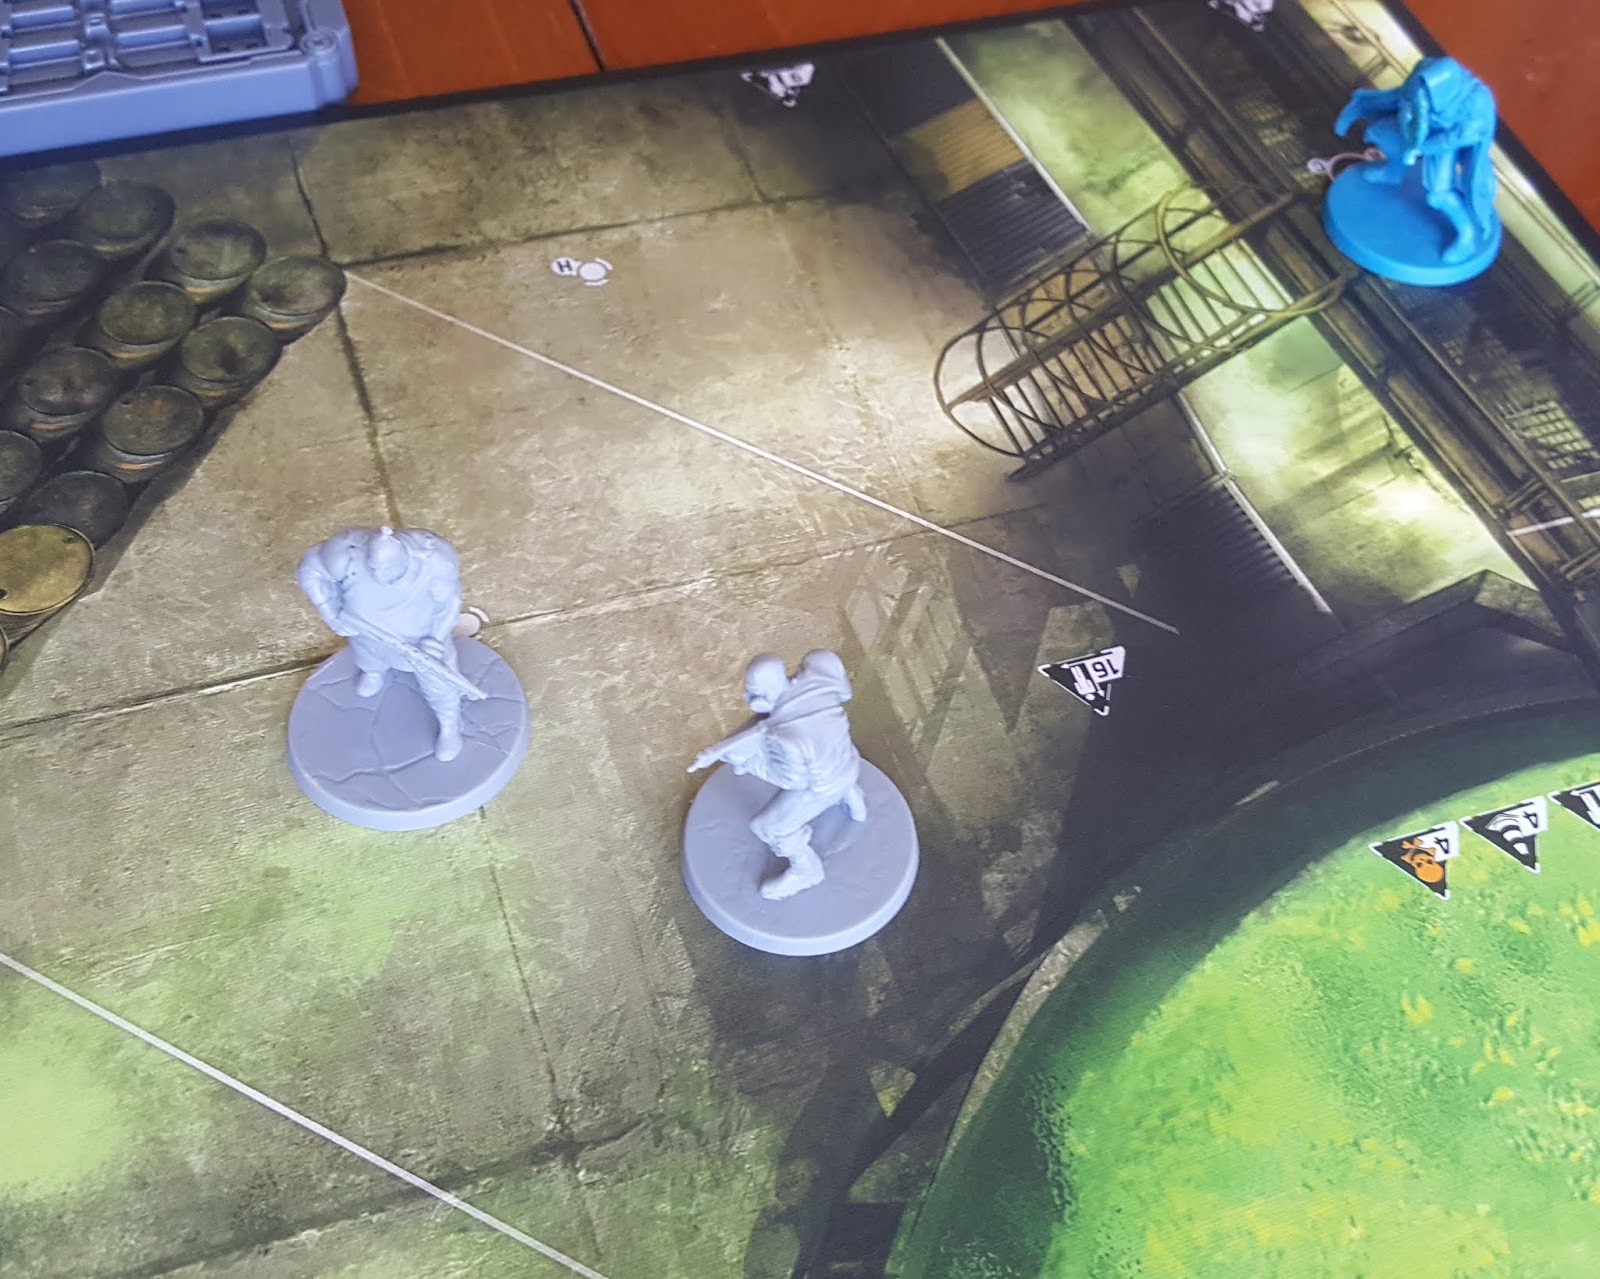
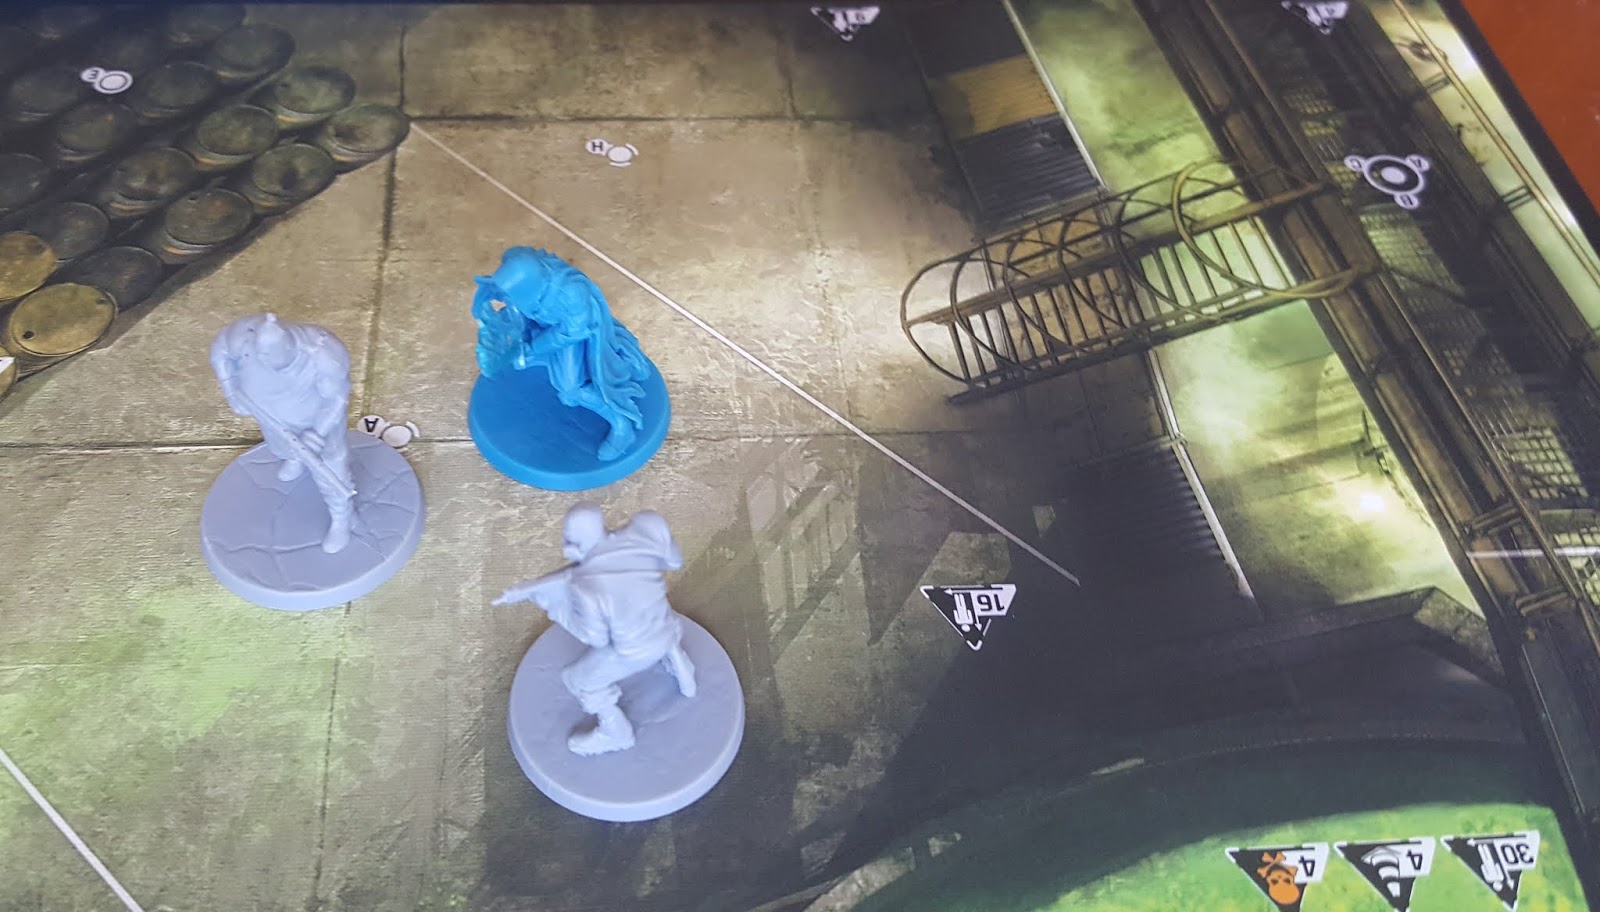

Azrael spent an energy cube to make a melee attack, getting the hero one red die and a bonus red die for the Flaming Sword.


With a poor roll, the target's armor was found to be a 2 and would require a reroll.

Spending a cube to get a reroll, the red die converted one additional success, which still wasn't enough. Azrael's efforts down the ladder had worn him out.


Not one to be easily defeated, Azrael took another action and spent a cube to perform that same melee attack. With two red dice rolled, the result was comical and the hero thought better of spending more cubes for now.


That was all the heroes were going to do for now. Batman had successfully cleared out his area while Azrael was a little out-of-shape.

The heroes moved their spent energy cubes to their 'Fatigue Zone' and ended their turn. The victory conditions were obviously not met, so the game continues!

Now the villains get their turn. Unlike the heroes, the villains actually have some specific restrictions. First, the villain player may only choose to activate zero, one, or two 'tiles'. They pay the energy cube cost and then those villain characters may act as follows:
Move action (using move value), action other than move (like attack), and second move action
Villain characters have the same skills and buffs that heroes have but they are more limited in how they can act. And they don't have to spend energy cubes for every action because they can't do anything they want.
The first thing the villain player does is move cubes that they've used previously to their 'Fatigue Zone'. Then they recover the number of cubes dictated by the scenario. In this scenario, the villain's Command Center starts with six cubes active and three in the Fatigue Zone, and a recovery of five. As the villains didn't spend any cubes on defense or rerolls, they had none to move and simply recovered the three cubes they start with. For this turn, the villains have nine energy cubes!


The first activation is the Brutes with Firearms, costing two energy cubes as the tile was in the '2' slot. The tile is replaced to the end of the 'river', pushing the other tiles to the left, and the cubes were paid. This now means that the villain player can activate each of the three Brute with Firearm models on the board, acting as described above.

The first Brute with Firearm, guarding the computer with the access codes, heard the commotion and decided he wanted to investigate.

Checking the villain's tile, we find that he has a movement of 3, giving him plenty of points to move. First he leaves the room and joins Scarecrow and a couple of minions on the balcony. Not having a clear shot to either of the heroes and no other talents, he simply continues with the second move action to get closer.


The second Brute with Firearm was hanging out with Scarecrow and wanted to see what his friend was up to. With his movement points of 3, he moved down to stairs to join his friend, saw no opportunities to take shot, and used his second move to pile into Batman's zone.


The Brute with Firearm tile shows these models get one black die when shooting, plus the Point Blank special rule with allows a reroll if the target is in the same territory. All of that resulted in a roll of four successes as the shotgun blasted the do-gooder.

Azrael decides to spend an energy cube on defense, gaining an orange die and a free orange die from a special trait.


Azrael rolled two successes, cancelling out two of the villain's, which left only two wounds for Azrael to worry about. Trying to conserve his energy, the hero chose to take the damage. He transferred two cubes from the Fatigue Zone to the Wounded Zone.
Feeling satisfied with himself, the Brute used his second move to dash over and join his friend against Batman.

The second activation would be the Hazmat Thugs. Occupying the '1' slot on the Command Center, a single cube has to be paid and that would allow the activation of four models. The cube is paid and the tile is moved to the end of the 'River' for the villain player to continue.

Checking the tile, this character has a move of 2. Importantly, the Hazmat Thugs also have dice in the 'Manipulation' spot.
The first Hazmat Thug, standing atop the barrels, had a clear line of sight to Batman. He chose to skip the first move and fired his two white dice at the hero. Unfortunately, he rolled no successes. Luckily, these thugs get rerolls on both of the dice!


Only to fail again... The character appreciated his position and skipped his second move step as well.

Another Hazmat Thug nearby activated and moved into Batman's area and fired with his gun. Rolling two dice, then using an unsuccessful free reroll, he scored two successes.


Batman decided to spend 0 cubes on defense because he also received a orange die. Plus, he brought the Bat Cape, which canceled one success from ranged attacks against him.


Rolling the free orange die for the 'no cube' defense action, plus the 'Untouchable' ability of the Bat Cape, nullified the ranged attack. The thug was still happy and ignored the second movement to stay in and crowd the hero.


A third Hazmat Thug moved from the room with the safe into the adjacent room with the Ventilation token. His plan was to slow down the heroes (and most of the villain characters) with the poisonous fumes in the factory...

The character's tile shows they get a white die and orange die to attempt at least three successes. Unfortunately, the thug forgot which way to turn the valve and rolled zero successes. He didn't use his second move as he wanted to try again later.

The fourth Hazmat Thug was already in a room with a Ventilation token and didn't have to use his first move action. Rolling his dice, he rolled a single success. It wasn't enough. Knowing that Scarecrow was just outside and he'd failed, the thug just stood there like his buddy.

The villains had activated the maximum two tiles and every model that covered. This was the end of the villain's turn. It wasn't a bad turn for either side and the mission objectives had still not been met. So the game continues!


With the Initiative, the hero player moved used energy cubes to the Fatigue Zone and then has to decide the heroes' "stances". If 'Active', then the hero performs like normal but recovers very few cubes. If 'Resting', then the hero can't perform any actions other than free ones (like Counter-attack), defense, and rerolls.

For this round, Batman was going to stay 'Active' while Azrael 'Rested' so he could recover from fatigue and even heal a little bit.


Batman, knowing he had to take the lead, chose to throw his Explosive Batarang. One cube means one orange die and the Batarang adds two black dice to that pool...


Which unfortunately all rolled 'blanks'...
Leading to spending three cubes for rerolls...


Which paid off with six successes! Checking the target's armor and seeing it's a 1, and counting the hindrance of two, this still means three wounds. And a neutralized villain!


Using them momentum, Batman then decided to spend two cubes for a melee attack against one of the Brutes. This means two red dice, but no weapon bonuses this time. Luckily, Batman has the 'Martial Arts' skill, which adds automatic successes.


Another great roll saw four successes, plus one for the skill. The target has an armor of 2, and hindrance doesn't count against melee attacks. That's three wounds!

But wait! The Brute has the skill Counter-attack, giving him a two-dice attack with yellow dice against the enemy. It wasn't much on his way down, but the Brute with Firearm wasn't going down without a fight!


Batman chose to do a zero-cube defense action and take advantage of the free orange die. With the agility he's known for, Batman easily dodged the villain's counter-punch (getting two successes on the orange die to cancel out the one success from the villain's attack) and finished him off.


Batman has a special skill known as 'Combo', giving him an extra free dice against another enemy in his territory. With only one success and no desire to continue the dominance (spending more energy cubes), Batman failed to finish off the last Brute.


With that, the heroes finished their turn. Batman moved his used cubes to the Fatigue Zone, still managing the energy as best he could.

The victory conditions still had not been met, so the game continues!

Now for the Villains...

Eager to show his people what they're supposed to be doing, the first activation was Scarecrow for one cube (his tile was in the '1' position on the Command Center).

Reviewing Scarecrow's tile shows he has two movement points and some pretty strong abilities and skills...

Frustrated at his underling's inability to "Turn down the ventilation", he spent an energy cube and moved three spaces into the room.


To prove his point, his non-move action would be to perform a Manipulation with a white die and orange die. Needing more, his one success embarrassed him and failed.


Determined not to be the fool, Scarecrow spend an energy cube for a reroll and rolled... the same thing. Curses!


Dumbfounded, the mighty Scarecrow gave up his second movement to stay in the room.

The next activation would be for Prisoners, which would mean activating four models! Reviewing the tile, they have a move of 3 and can be pretty useful. All for one energy cube...

The first Prisoner moved from one area of the room to the area with the Ventilation token, hoping to take advantage of his Manipulation trait.


Rolling the white and yellow dice, the Prisoner got no successes. Even with the free reroll on the yellow die, the villain was unable to meet the requirement of 3 and failed. He didn't take his second move action.


The second Prisoner, in the room with the thug AND Scarecrow who failed, wanted to impress the boss and skipped his first move action. With confidence, he rolled four successes and "Turned down the ventilation". This meant that an additional 1 menace was added to the hindrance score for anyone without a gas immunity as the toxic gases in the factory started to build up. Scarecrow and Hazmat Thugs were obviously immune...


High on his success, the Prisoner rushed with his second move action to join the fun outside.

The third prisoner, just below the balcony where his buddy joined them, saw the opportunity to rush Batman himself and joined the fray.


Taking advantage of his Sneak Attack rule, he rolled his melee dice and got a success, equaling two because of his ally in the territory.

Batman again used a zero-cube defense and took advantage of his bonus orange die for defense, but rolled nothing.

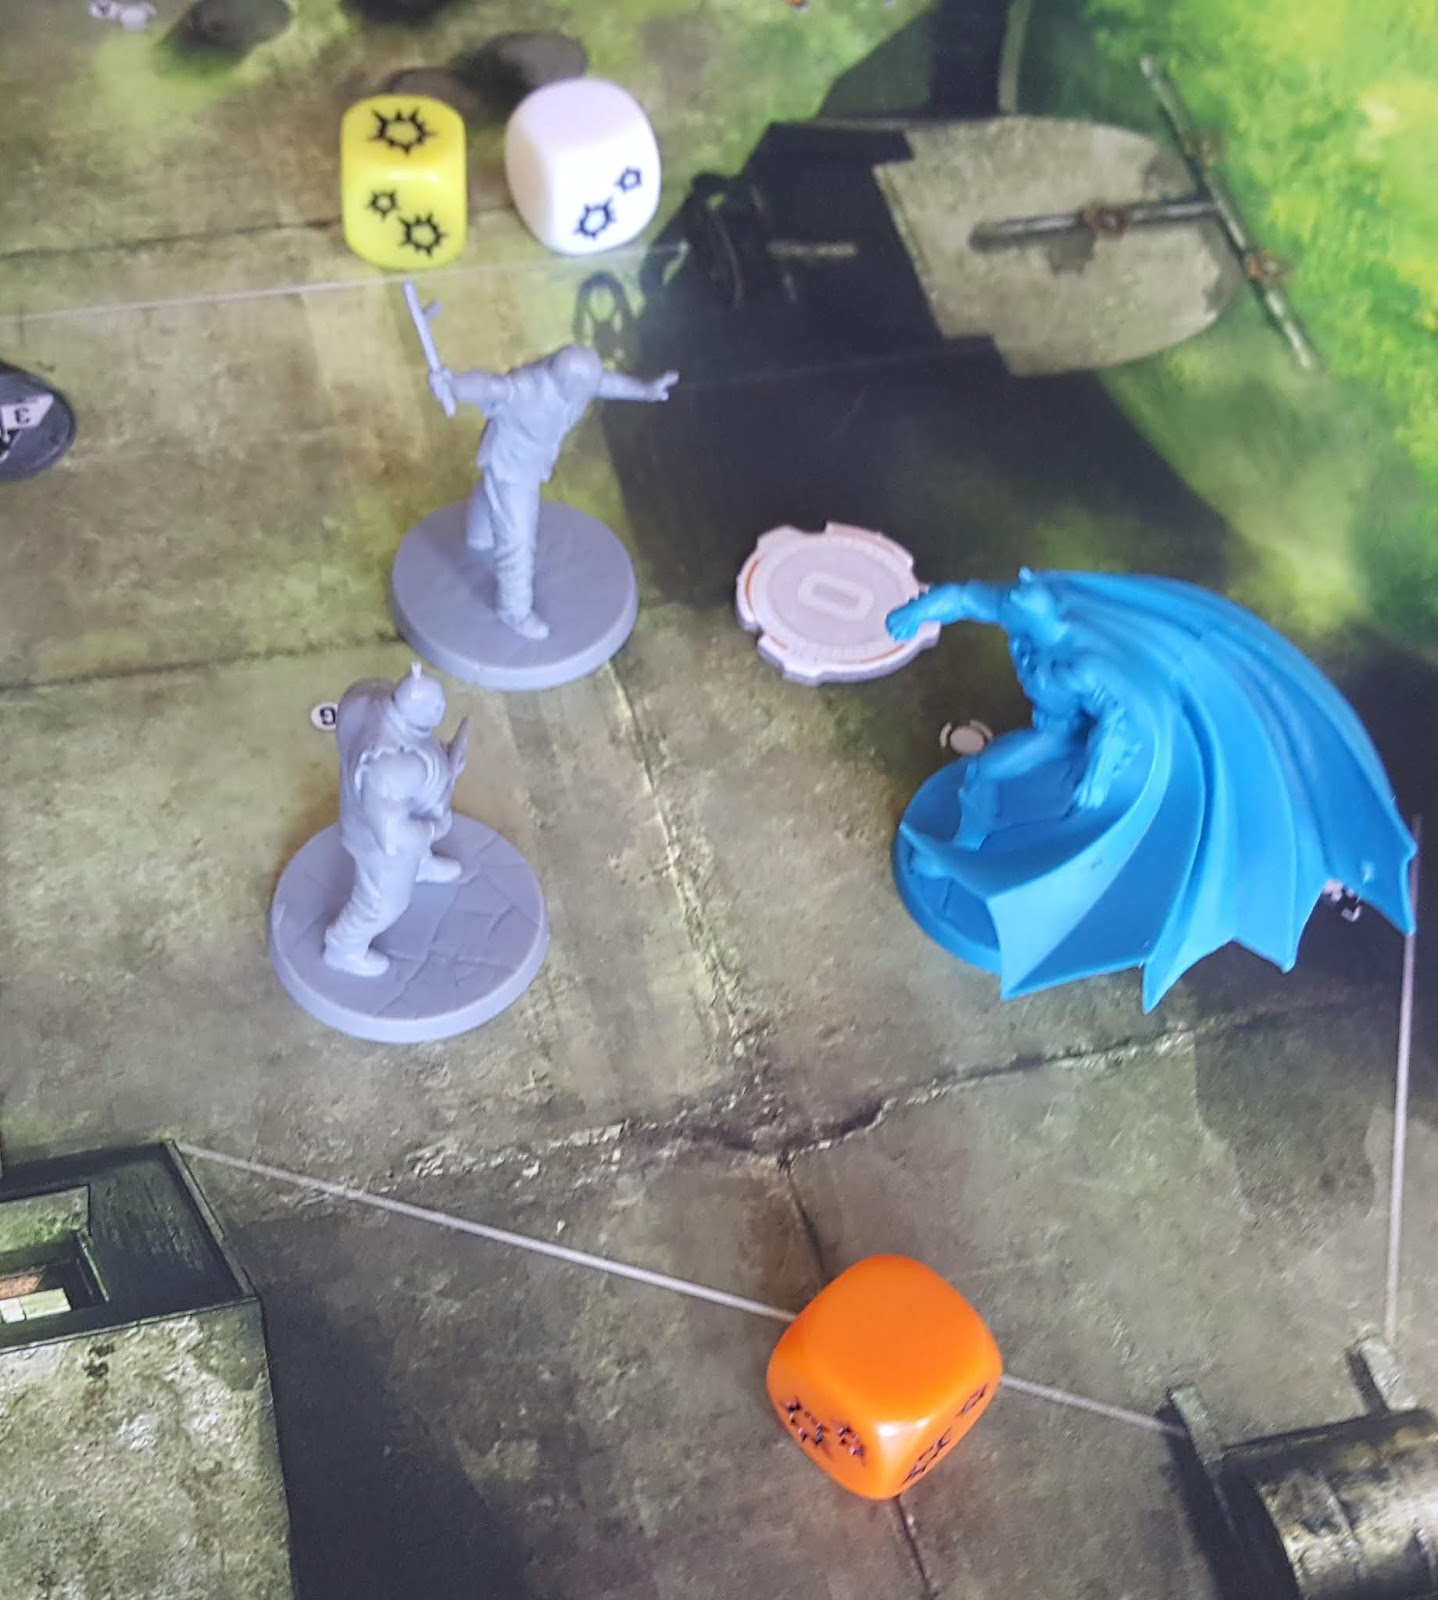
Spending a cube for a reroll, Batman picked that orange die up and rolled two successes! He defended the Prisoner's attack.


The fourth Prisoner, on top of one of the buildings, jumped across to the tall stack of barrels using his first movement. This his second movement, the Prisoner climbed down the stack to join the fray against Batman.


This ended the Villain turn. With only two cubes spent on movement and reroll, and two more spent on activating tiles, the Fatigue Zone was still pretty empty.


Game Round 3

The heroes were definitely taking out all the bad guys, but it was taking so much of their energy throwing Batarangs and punches. Decisions had to be made.

Batman chose the 'Resting' stance so he could recover while Azrael was feeling energized, if not unlucky. This meant that Azrael would get to perform actions this round while Batman rests.


Using his free movement points for the first move, he immediately leapt to his partner's aid.


With the flaming sword, Azrael was easily able to surpass the target's armor value. But the villain chose to use a couple of cubes for defense to stay alive. With both 'blanks', he fell to Azrael's weapon.


Azrael used his Combo ability to attack another foe in the territory, gaining a free red die. Spending another cube on a reroll, the hero was able to take down one of the Prisoners.


With only one Prisoner left, Azrael performed another melee attack, spending a cube and getting a free die from the sword. With four successes, the villain was neutralized quickly.


Spending two more cubes on movement, Azrael moved two more spaces to engage more enemies.


More cubes dedicated to melee and Azrael was swinging his sword with purpose! Another cube for a reroll and... failure. The Brute with Firearm was just too tough.


With little else to do, Azrael finishes his turn with Batman now unhindered during his turn. It was exhausting for Azrael...


The villains were starting to run out of bodies and they had to stop the villains somehow. So the carnage continued...


Moving the cubes used during the heroes' turn to the Fatigue Zone and recovering the automatic five, the villains definitely had enough energy to do what they wanted. But the heroes had a mission and this really just meant slowing them down as much as possible. This wasn't going to be hard, even as Batman and Azrael hit hard, it seemed.

The first tile to activate was the Brute with Chains, only costing a single cube. There were a couple on the board, waiting patiently.


The first one was guarding his boss but couldn't take the wait any longer, using his first and second moves to come downstairs and crowd Azrael. No attack, due to the activation sequence, but 'hindrance' matters...


The second Brute came from the back room and used both of his moves to get to the stairs. He wouldn't want to miss out on the action!

Costing two cubes, the next activation for the Villains was the 'Warning' tile. This tile comes with special rules, outlined in the scenario. In this case, the card gives 2 reinforcement points, to be spent on villain models that are no longer on the board (typically meaning they've been neutralized).

At the bottom-right of the villain tiles is listed the reinforcement cost for those models. The villains chose a Hazmat Thug and Prisoner, each costing a point, to be returned.


The models are then returned to the board in a zone where the Reinforcement tokens are located (and 'active', showing the green circle rather than the red one). Note that this scenario's rules didn't say that those characters could be activated when returning. Another scenario we played did have the rule for activating new arrivals (and many more reinforcement points available), so it's very important to pay attention as each scenario can be very different.

Having activated two tiles, the Villain's turn was over...
(Most of the) Rest of the Game
By now, the game is very easy to understand. We've gotten the rules down pretty well and are identifying strategies and even some team-building based around the scenarios. I'm not going to go on and on with the rest of the battle, but I can give a summary.
Turns 4, 5, and 6 saw Batman and Azrael take turns resting and activating to wipe out almost all of the villains in the plant. They took a great deal of joy in punching up the bad guys and briefly forgot the mission. The villains just continued to crowd around and take a beating, even putting some significant damage on Batman, forcing him to consider resting up to heal.
More, the villains did manage to finally turn down the ventilation once and that added an additional 'menace' to every situation. This meant that throwing Batarangs, opening safes, an hacking computers would be a bit harder.
Game Round 7

Things were not looking good for the Heroes. Batman was severely wounded, Azrael was nearly out of energy, and it was the final turn of the game. Having taken too long to remember their mission, the heroes had put themselves into a battle against the villains and time itself.

First to activate was Azrael. Stuck in the room with Batman and three other villains and having to get two territories away, he was required to spend energy just to get there. The other room held half the safe codes to get the information they were after.


Next, Batman spent energy on movement to escape the room and dash into the room with the safe and the other half of the codes. Even with those free movement points, both heroes were affected by the hindrance of the villains.


Azrael used another cube, spent in 'manipulation', to get a chance at his codes. Requiring a success of '2' and only getting a yellow die per cube, this was going to be rough...


With all the luck of DC superheroes, he passed the roll with two successes and no enemies to hinder him! One code down...


Batman followed suit, spending one of his last cubes on his attempt at manipulation and also rolled two successes- much easier on the orange die! Now that both halves of the code were there, the safe was opened and the information was available.

But Batman still had to pick up the folder and stash it in his belt, and that would take another cube to do an automatic manipulation

While Batman had the information, he was out of energy and couldn't act any further...
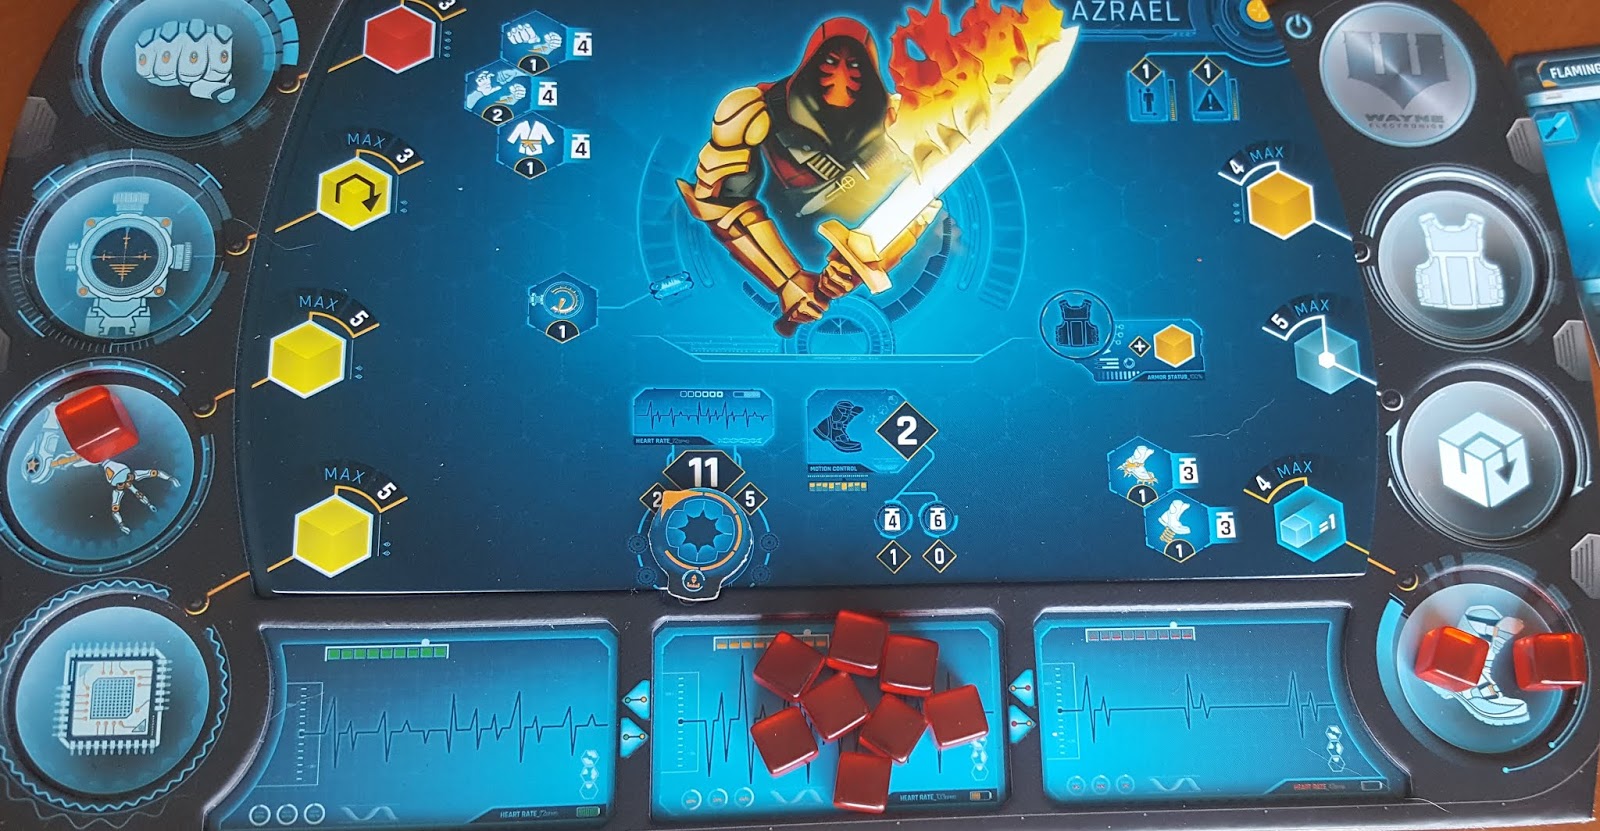

Azrael, hoping to save the day, spent his last energy cube on movement to get closer, but ran out of energy before he could even make it to the room Batman waited in. It was too late.

The heroes were unable to acquire the information and escape in time to stop Scarecrow's evil plan. Just as they finally got what they needed, klaxons and sirens announced the release of deadly gas and probable doom for the city.

And with that, we shook hands and discussed the game. And what a game it was!
Now remember, we had messed up a couple of things. My understanding of movement and hindrance were both incorrect, so the game would have actually been even harder for the heroes. Luckily, messing up these rules wasn't so drastic that it determined the outcome.
In fact, one of the best parts of this game is that there actually is a strategy. It isn't simply an exercise in dice-rolling or following instructions, but there's planning and prioritizing that play a big part for the heroes. The villains are a little less free-form, but they are a significant player in this as well. The villains aren't just the antagonistic pawns of a board game, but a legitimate piece to be controlled and strategy applied to it as well.
Here's what we've found after this and a half-dozen other games...
- The heroes are vastly overpowered and can take out anyone easily on the board
- The villains are almost too easy to understand and can be overwhelming
- The best strategies for the heroes depend on speed and focus. While the entire team of heroes can really do a number of things individually, using a member to 'clear a path' and another to be the 'techie' goes much further.
- The best strategies for the villains isn't always to 'mob up' on the heroes as they can still just run away. Understanding the heroes' goals and working to stop them may make for some boring turns but lead to victory.
- The rulebook is a bit too complicated trying to be concise. But even non-gamers can understand the language-neutral approach of icons and flow charts.
We love this game and that's why it's been a bit of a distraction. If you get the chance to get one yourself (available again on Kickstarter June 4th), I highly suggest it. And if you happen to have younger kids that love comic books- then this will work even better!
Great game. Another hit for Monolith...


